As an instructor, you can upload an image to be the thumbnail in the Courses page at Base Navigation. It can also be the internal Course Image inside your Ultra courses.
Why should I use a course image?
- Improve the way your Ultra Course View landing pages appear.
- Improve student engagement and experience.
- Bring consistency among what the Base Navigation displays and the actual course.
- Help your students to differentiate between courses, and locate course details.
- Make it easier for you to add a course schedule, and for your students to identify course faculty members and class meeting days, times, and location.
Faculty banners are available from here.
Prepare your course image
- Images with text don't scale well.
- For banners, the recommended visible width ranges from 1200 x 240 pixels.
- Do not add your course name on the banner because it will automatically display for the students.

- Abstract images or an image with a focus at the center work better for a banner, due to cropping variability.
Set up a course Image
Choose an image for your course. The minimum recommended size for the banner image is: 1200pixels wide x 240 pixels high.
-
In your course, go to Details and Action Panel
-
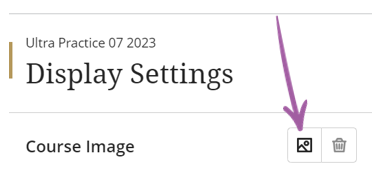
Click on Edit display settings below Course Image.
-
Click on the icon to update the new image.
-
You have a choice to upload an image from your computer, or to use Stock images from Unsplash.
-
Upload the image file or drag and drop the image file.
-
Click on Next.
-
Position the image using your mouse buttons or arrow keys. You can also use the slider at the bottom of the window to zoom in and out.
-
Click on Save.
-
Add the aternative text or select the decorative text option.
-
If you want to show this image INSIDE your course, activate the ON button for the Course Banner.
-
The Course Image is always used as the course card image which is visible on the Courses page.
-
Click on Save.
Credit to Blackboard Help