- Print
- DarkLight
- PDF
As an instructor, you can upload an image to be the thumbnail in the Courses page at Base Navigation. It can also be the internal Course Image inside your Ultra courses.
Why should I use a course image?
- Improve the way your Ultra Course View landing pages appear.
- Improve student engagement and experience.
- Bring consistency among what the Base Navigation displays and the actual course.
- Help your students to differentiate between courses, and locate course details.
- Make it easier for you to add a course schedule, and for your students to identify course faculty members and class meeting days, times, and location.
Faculty banners are available from here.
Prepare your course image
- Images with text don't scale well.
- For banners, the recommended visible width ranges from 950 to 1200 pixels. The recommended visible height ranges from 150 to 240 pixels.
- For course cards, the recommended visible height is a constant 240 pixels. The visible width ranges from 550 to 1100 pixels.
- Keep the main content within the center, at 550 x 150 pixels of a 1200 x 240 pixels banner, to guarantee its visibility. Anything outside that 550 x 150 central pixel area may be cropped out at various screen sizes for either the course card or the banner.
- Abstract images or an image with a focus at the center work better for a banner, due to cropping variability.
Set up a course Image
Choose an image for your course. The minimum recommended size for the banner image is: 1200pixels wide x 240 pixels high.
In your course, go to Details and Action Panel
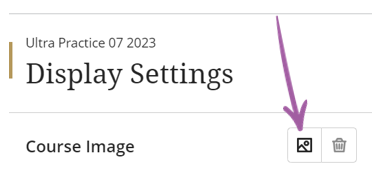
Click on Edit display settings below Course Image.
Click on the icon to update the new image.

You have a choice to upload an image from your computer, or to use Stock images from Unsplash.
Upload the image file or drag and drop the image file.
Click on Next.
Position the image using your mouse buttons or arrow keys. You can also use the slider at the bottom of the window to zoom in and out.
Click on Save.
Add the aternative text or select the decorative text option.
If you want to show this image INSIDE your course, activate the ON button for the Course Banner.
The Course Image is always used as the course card image which is visible on the Courses page.
Click on Save.
Credit to Blackboard Help
.png)
