- Print
- DarkLight
- PDF
This is the base step sheet to explain the following:
- from where to access groups
- naming a Group Set
- how to enroll students into the groups.
Steps to create groups
Click on the Groups tab to access the Groups environment.
On the Course Groups page, click on New Group Set.
On the New Group Set page, click on the name or the pencil icon to edit the name of the group.
Select the Group students field and choose how you want to assign students into groups.
a. Custom – You manually assign students to a specific groups (not recommended for large classes).
b. Randomly assign – Students are automatically randomly assigned to groups: you specify the number of groups and the program will indicate the number of users that will be in that group.
c. Self-enrollment – Creates a sign-up sheet for students to choose their group (For this option to become useable: make the groups visible to the students)
d. Reuse groups – You can reuse an existing course group or group set you had previously created in your course.
- There are individual step sheets for each of the different ways to group students.
- There may be different step sheets for creating a small number or a large number of groups in each of these.
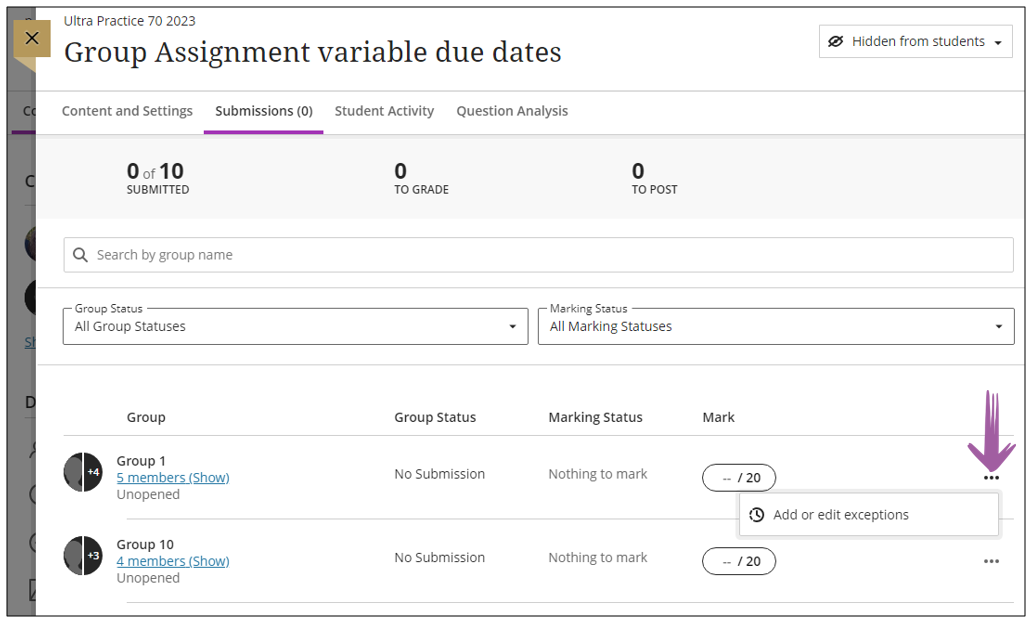
Different submission dates for different groups
If you need to provide extension to a group to submit their group assignment, you can use the Add exception function as per the screen cap below.
.png)


