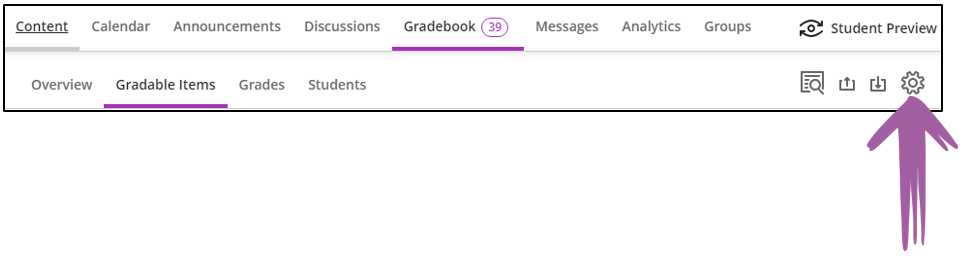
The settings allow you to control grading schemas, create custom categories, manage rubrics, and set overall grade notations. To modify your gradebook settings, click the Settings icon.
The settings will be explained below:
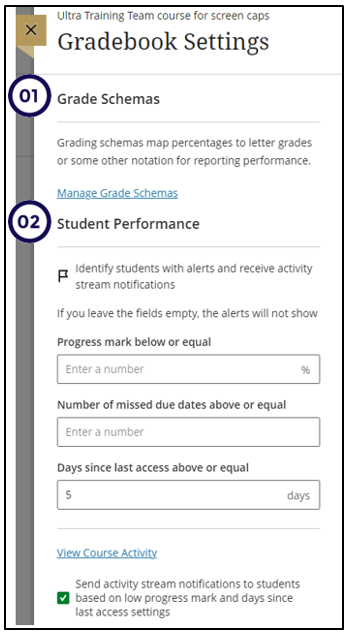
1. Grading Schema
You can choose to display grades in different ways with grading schemas. A schema takes the points scored on an item and compares them to the item's total points possible to derive a percentage. The system maps this percentage to a range of scores and displays a grade, such as a letter (A, B, C). You can edit a grading schema at any time.
Example: For the total grade, a learner's raw numeric score is 88 out of 100 points possible. In a grading schema where a percentage of 87 to less than 90 equals a B+, the learner's score of 88 results in a B+.
You can edit the Letter schema and rename it. Grade schema titles have a 64-character limit. You can edit, delete, or add grade ranges. When you change or add a value in the schema, the remaining values adjust. The system ensures that no numeric gaps exist in the schema. You can delete rows in your schema, but at least two must stay to remain valid.
Should you want to display text for students in the gradebook, you can follow these steps.
2. Student Performance
Set up the alerts that you should receive when students adhere to these rules.
You can also alert the students by selecting the tick-box in front of the Send activity stream notification to students.
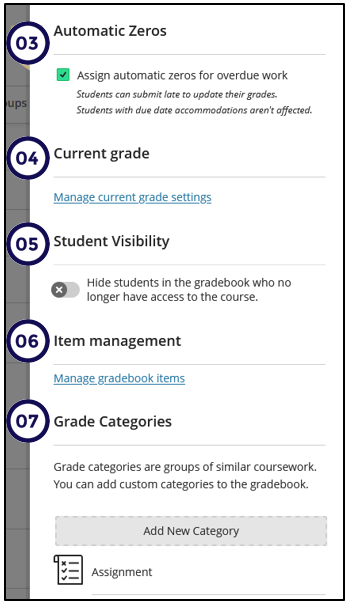
3. Automatic Zeros
You can choose to automatically assign zeros to missing work past the due date. Learners and groups can still submit work after an automatic zero is assigned and you can grade as normal.
After you enable this setting, you don't have to go through your gradebook to manually assign zeros. The automatic zeros setting applies to these graded items:
- Assignments and group assignments
- Tests and group tests
- Graded individual and group discussions
The automatic zeros setting doesn't apply when you collect submissions offline. As the instructor, you manually create the learner attempts and submission dates and times. Automatic zeros are applied by default. You can disable the automatic zeros setting at any time.
4. Current grade
- Current Grade is the UP Name for this field in clickUP. The Blackboard term is Overall Grade. However, at our university, we are not allowed to display the final marks to students in clickUP. Only students whose accounts are paid may see their final marks in PeopleSoft.
- When you click on the button it opens the current grade page where you can set it up.
Read more ...
5. Student Visibility
This setting can be ignored since we hide the students from PeopleSoft who have decided to stop their studies.
6. Item management
This feature allows you to hide gradable items from your view. Be careful: this item will still display on the student view unless you also hide it from the students.
7. Grade Categories
The gradebook in the Ultra Course view allows you to create grade categories. These categories can be used to group similar types of coursework. There are default categories already in the system, and you can create custom ones too.
How items are categorised can be quite important depending on how you plan to set up your gradebook for your course, since categories can be weighted to calculate the overall grade. How you group your items should match your grade strategy. This is something to consider as you begin planning your course.
You will want to set up any custom categories in your gradebook before you start adding these items to your course. This will save you time, as you can assign the item to a category while creating it rather than having to move it into the correct one later on.
Read more ...

8. Rubrics
From this location, you can edit and create rubrics for your entire course.