There are different ways to attach files:
- From the text editor:
Select the Attachment button (which is shaped like a paperclip).
Browse for a file from your computer. A status window displays to show the progress of the file upload. You can also add files from cloud storage by selecting the plus icon. You can also simply drag and drop a file from your computer into the editor:>
- Select and hold the mouse button over the file you wish to move.
- Move the file with the mouse or touchpad into the editor.
- Release the mouse button, and the file will have been moved.
You can edit the file's settings, including:
- display name
- alternative text
- display behavior (whether the file appears as a link or viewable inline with other content in the editor)
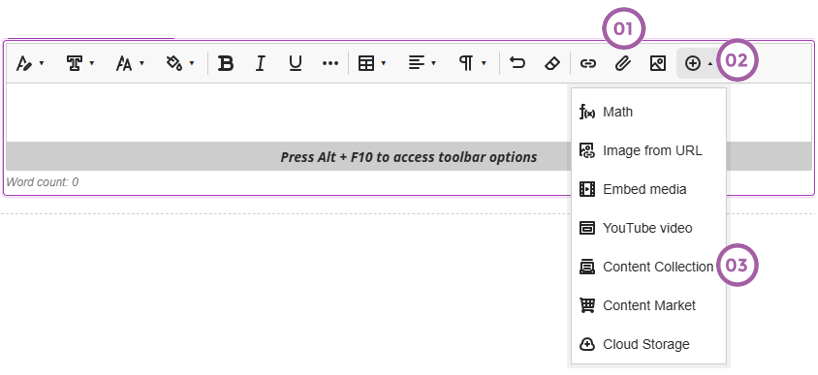
- From the Plus icon
- Click on Content Collection
You can use the Content Collection to organize, share, and reuse files in your courses and those files shared across the institution. You can add files from the Content Collection right on the Course Content page. Select the plus sign wherever you want to add files. In the menu, select Content Collection to browse the files available to you and add them to your course.