-
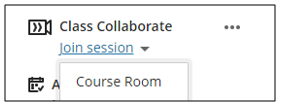
Go to Class Collaborate on the Details & Actions Menu. (Read more ...)
-
Click on the down arrow next to Join session.
-
The Course room is by default enabled.
If you use the Course room for all your sessions, all the recording names will start with the module code, followed by the number of the recording, e.g. ABC 123_recording 1, ABC 123_recording 2.
-
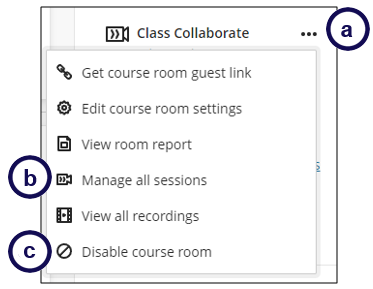
If you would like to control the names of your recordings, and alleviate extra work in renaming recordings, we advise the following:
a. Click on the ellipses to display the menu.
b. Click on Manage all sessions to start creating a new session.
c. Click on Disable course room. (You only need to do this once in your course)
-
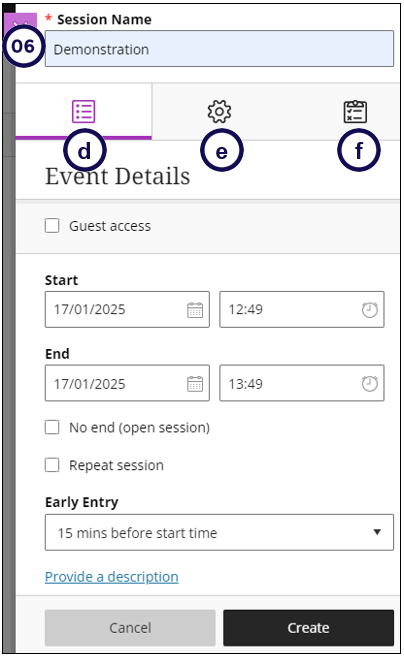
When you select Manage all sessions, a new layer will open. Click on Create session.
-
Provide a descriptive name for the session.
-
Use the tabs below the description to:
d. Set the Event Details.
e. Specify the settings you want to use during the session.
f. Set up the attendance reporting. -
Click Create.
- Only use a guest link for users who are not part of your module, e.g. a guest lecturer.
- If you want allow students to download recordings of the session to reuse later, remember to tick Allow recording downloads
- Be careful with the use of anonymous chats, as students
- If you have more than 250 students, tick Allow 250+ attendees to join. When you tick this, students can only use the chat function to engage, not the audio or video. If you want them to interact with audio, they will have to put up their hand, and then you can change their role to Presenter. Then the particular student will be able to use their audio.
- Tick USE AWS Chime for audio and video for better audio and video quality. (Only for sessions with less than 250 attendees.