-
At present the instructor can only select the number of groups(with an indication of how many students per group) during the creation of randomly enrolled group sets.
-
This step sheet uses this functionality to create a large number of groups with custom enrolment to save the lecturer time when creating groups. The process is a work around, so it may not feel logical at first.
-
A flow diagram of the process to create a large number of groups is included here to show the logic: first the number of groups are created under Random enrolment, then allocated students are cleared (but the groups remain). There after the custom enrolment process follows is followed.
-
Group tools: Groups must be attached to an assignment to access group Class Collaborate rooms and discussion area.
-
Group member visibility:
- For instructor-created groups, groups must be attached to an Assignment, Discussion, or Test to see group member names within the activity item.
- Only in Randomly assigned groups can you at present create a large number of groups from the start (i.e. choose the number of groups or set the number of students per group).
-
If you need to create more than 10 groups with custom enrolment, use the How to create a large number of groups step sheet.
-
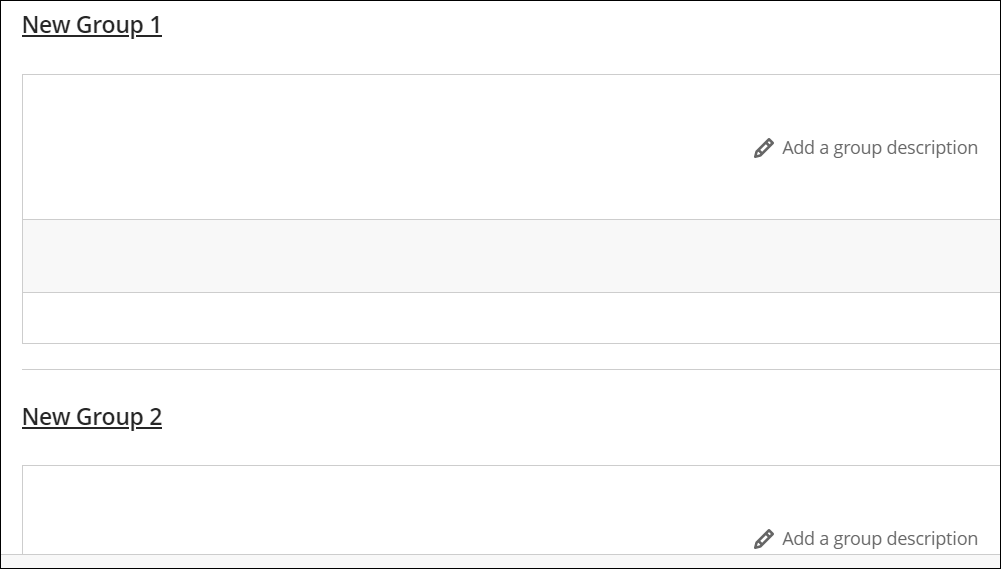
You will always create a group set and all newly created groups will have the name New Group and a number. To have customized names, you will have to either:
- change the name of each individual group or
- use Excel do a bulk change of the default group name to an educationally meaningful name
Steps to create a large number of custom enrolment groups
-
Click on the Groups tab to access the Groups environment.
-
On the Course Groups page, click on New Group Set.
-
On the New Group Set page, click on the name or the pencil icon to edit the name of the group.
-
Select the Group students field and choose randomly assign (b).
-
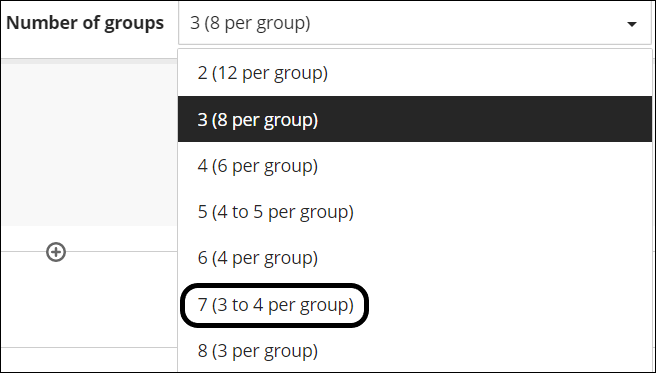
Select the Number of groups field and click on the number of groups you require. (The number of students per group are indicated in brackets after the number fo groups, to assist the lecturer to determine the groups size.)

-
Click on Unassign All.

-
There are two sets of activities remaining:
- changing the allocated group names to educationally meaningful names
- enrolling students into the created groups
Changing the allocated group names to educationally meaningful names
- Depending on the number of groups, there are two different ways to rename groups to give them educational meaningful names:
a. Go to each individual group: Go down to each of the groups and change the title of each group to a meaningful signup name, e.g. Wednesday practical, 10:00 - 12:00 IT blue lab.
b. For a large number of groups use the stepsheet How to change group names for a large number of groups in a module using Excel after the groups have been created
-
Depending on your need and circumstances, there are two different ways to allocate students to groups
- if there are not many students to allocate, you may want to use the grouping method as indicated in the step sheetCreating custom groups - small number of groups steps 5 and 6.
- if you have an Excel list with the student number of group members placed below one another use the step sheet How to allocate a large number of students to groups in a module using Excel after the groups have been created.
-
Click on Save to complete the process.


